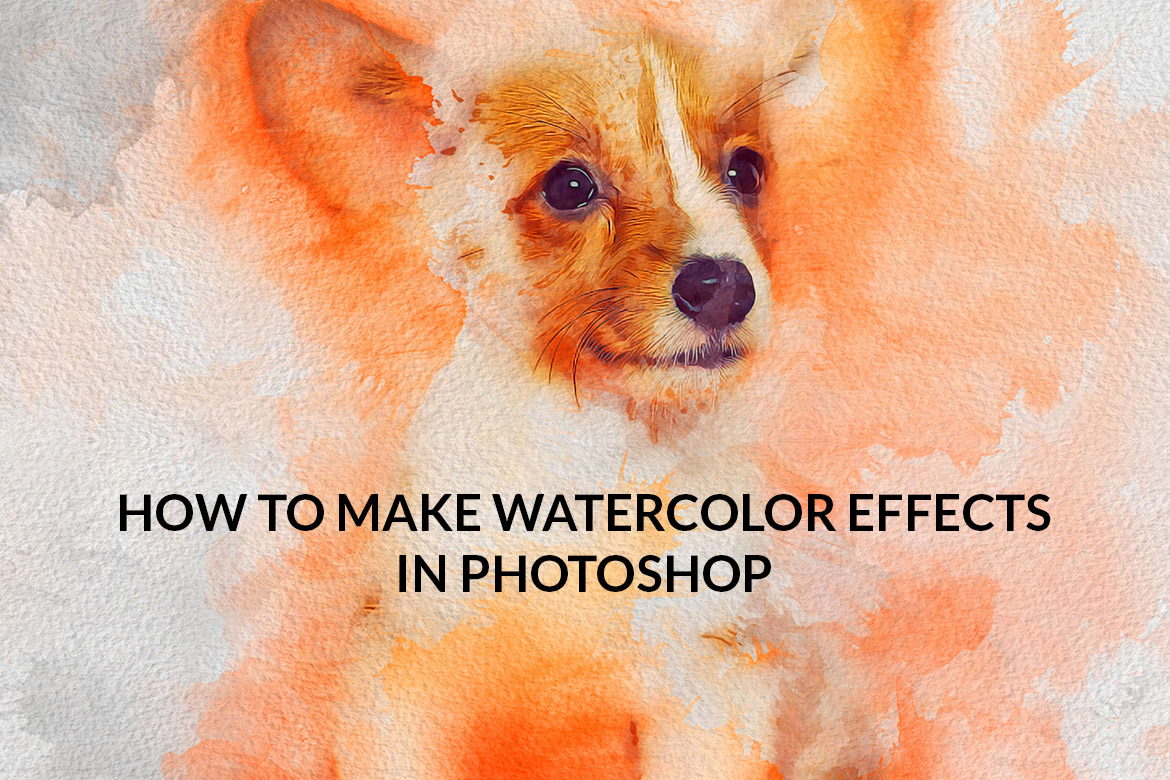
How to Make Realistic Watercolor Effects in Photoshop in 5 steps
Several of our Photoshop Actions come with beautiful watercolor effects that will turn your photo into a realistic painting, and do so easily!
Top watercolor effect Photoshop actions are:
- Premio Watercolor Photoshop Action
- Wonder Watercolor Photoshop Action
- Wet Watercolor Photoshop Action
- Pen & Watercolor Photoshop Action
In this article, we will show you how to create a realistic watercolor painting effect in Photoshop with Wet Watercolor Photoshop Action. You will also learn how to customize and create your masterpiece watercolor painting.
Here are the 5 steps to make a realistic watercolor effect.
STEP 1 – Open your image
Open your image in Photoshop. You can use any image which you want maybe a portrait or landscape, etc. To open your photo, go to File > Open, choose your photo, and click Open. Now, before we get started, just check a couple of things:
- Your photo should be in RGB Color mode, To check this, go to Image > Mode.
- For best results, recommended image size is 3000px wide/high. To check this, go to Image > Image Size.

STEP 2 – Install watercolor Photoshop action
In this section, we are going to download watercolor effect Photoshop filter and install it in Photoshop. Click here to download Wet Watercolor Photoshop Action
Then install the action file as shown below:
1, Inside Photoshop, go to the File > Open…
Inside the Open window, navigate to the Photoshop action folder
2, Select the following files, Action (.atn file), Brush (.abr file), and Pattern (.pat file)
3, Click Open to load files in Photoshop.
Done! The action files are ready to use.
STEP 3 – Brush the subject area
The subject area of the photo where you want to apply watercolor effects needs to be brushed before playing the action. Follow the below steps to brush the subject area.
- Create a new layer, go to Layer > New > Layer
- With this new layer selected, brush the subject area with any color

3. Select the brush tool, On the top toolbar, make sure Mode is Normal, and both opacity and flow values are set to 100%.

STEP 4 – Play action
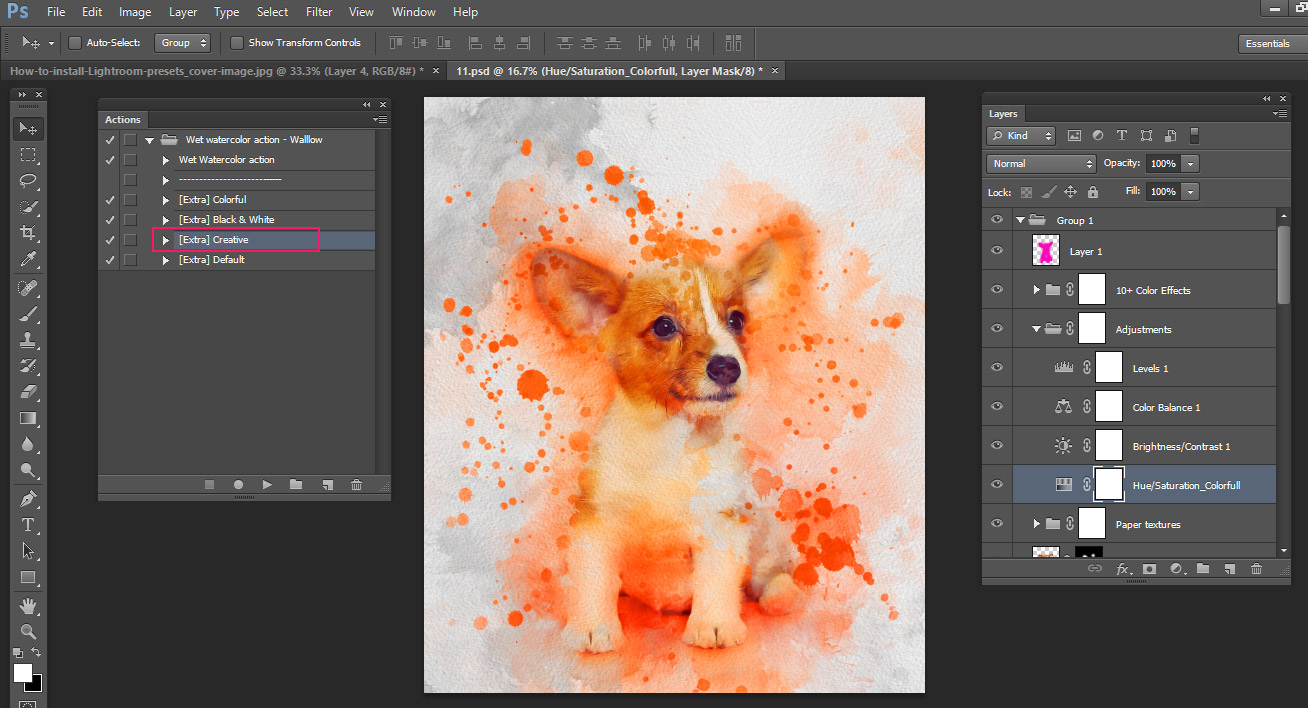
Open the Actions panel, select the WET WATERCOLOR action, and click Play. Playback time can vary based on your system performance.

After playing the main Wet watercolor action you can run extra actions to get additional watercolor effects. There are 4 extra actions included, they are:
- Colorful
- Black & White
- Creative
- Default
The extra action “[Extra]Creative” applies additional watercolor splatter effects to your image as shown below.
The extra action “[Extra]Black & White” turns your artwork into a black & white watercolor painting.

In a similar way, you can also try other extra actions to create different watercolor effects.
STEP 5 – customize to add more details
To add more details to the painting select the mask area of the layer “Add details – Masking”. Then, with white color in the foreground, brush on the area where you want to have more details.

The results will resemble the below image. Here details of the painting increased after masking with a white color brush.

Extra 10+ color options are also included. Tweak each layer to Create your masterpiece watercolor painting. Unlimited possibilities. A PDF “Help file” is also included with detailed instructions.
Here are final outcomes:

After adding details to the painting.

Examples